



How to tape your breasts with boob tape the right way!
Boob tape is a practical, popular way to lift your breasts and create a beautiful cleavage – no bra needed. Many women wonder how to apply boob tape correctly and what the benefits are.
In this article we show you the different ways to lift your breasts with boob tape. Read on and discover how to apply boob tape and feel confident.
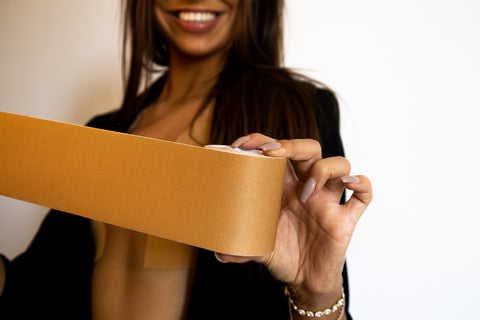
Using boob tape for a push-up effect: how to get more volume
-
Creating a natural lift:
- Start with clean, dry skin.
- Cut the boob tape to the length and shape you want.
- Lift your breast and place the tape under it, working from the side upwards.
- Repeat for the other breast.
- Adjust the tape so it stays comfortable and supportive.
- Enjoy a natural lift and a beautifully shaped cleavage

-
Creating a push-up effect:
- Clean and dry your skin thoroughly.
- Cut the boob tape into small strips.
- Place the tape under your breasts and bring the ends together in the centre.
- Press the tape down firmly to create a push-up effect.
- Experiment with the position and tension of the tape to get the effect you want.
- Admire your push-up cleavage and feel confident.
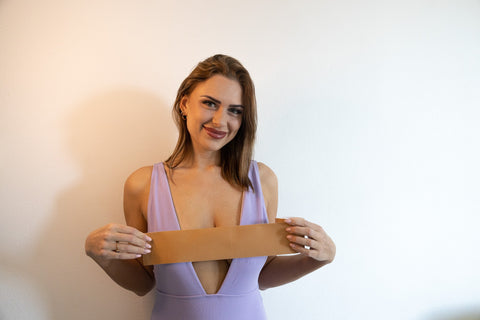
Taping your breasts: what to look out for
-
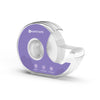
Choose the right tape: make sure you use special boob tape designed for this purpose. Don't use ordinary tape, as it can damage your skin.
-
Clean, dry skin: make sure your skin is clean, dry and free of oils and lotions before taping your breasts. This helps the tape stick better.
-
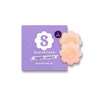
Removable covers: consider using removable silicone nipple covers or cotton nipple covers to protect your sensitive nipples.
-
Measure and mark: measure and mark exactly where you want to apply the tape to get the lift and support you want.
-
Apply in sections: apply the tape in small pieces or strips rather than all at once. That makes it easier to get the shape you want.
-
Gently stretch your skin: as you apply the tape, you can gently pull the skin to lift and support your breast.
-
Don't overstretch: make sure the tape is firm but not too tight, to avoid discomfort or skin irritation.
-
Avoid creases and folds: make sure the tape goes on evenly without creases, folds or air bubbles.
-
Try different techniques: it can take a while to find the perfect technique for you. Try different application methods and adapt them to your needs.
-
Remove gently: remove the tape carefully so you don't damage your skin. If needed, soak the tape with water first to make it easier to remove.
-
Care for and moisturise your skin: after removing the tape, look after your skin and moisturise it to prevent irritation – with a soothing lotion or cream, for example.
-
Don't wear it for too long: don't wear the tape for long periods at a time, so your skin gets enough rest. Follow the recommendations on the packaging for maximum wearing time.
For some women, boob tape is even an alternative to an underwired bra, as it gives more freedom of movement without any hard edges.
Bear in mind that boob tape is meant for particular occasions, not for everyday use. It's also important to listen to your body and remove the tape if you feel any discomfort. If you're unsure, ask one of our experts for advice on using breast tape correctly.

Where can you buy the best-quality boob tape?
Now that you know how to apply boob tape correctly, you might be looking for the best quality. Read our blog 'Buying boob tape? Here's what you should know' to find out everything to look out for when buying.
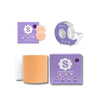
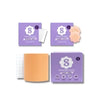
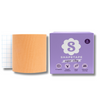
At shapetape.eu you'll find high-quality boob tape specially designed to lift and support your breasts. Using boob tape from Shapetape gives your breasts the right lift and support, so you can go about your day feeling confident and comfortable.


