

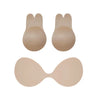
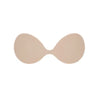
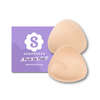


Anyone can apply boob tape
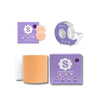
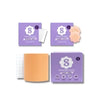
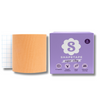
Using boob tape, also known as breast tape, is a great way to lift and support your breasts without wearing a traditional bra.
It's a practical solution for special occasions when you want a seamless, elegant look. But how do you apply boob tape correctly? Here are some simple steps to get you started:
Step 1: Preparation
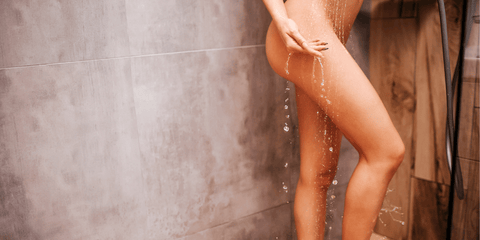
- Make sure your breasts are clean, dry and free of oil, lotion or perfume. This helps the tape stick better.
- Cut the length of boob tape you need. It can help to use a mirror.
Step 2: Applying the tape
- Lift your breast and position the tape underneath it. Keep the tape parallel to the floor for a natural lifting effect.
- Press the tape firmly against your breast and pull it upwards while holding your breast in the position you want.
- Repeat for the other breast.

Step 3: Securing and finishing touches
- Make sure the tape sits well and is firmly stuck. Rub over the tape with your hands to improve the hold.
- Check in the mirror that the lift and shape are how you want them. Adjust the position if needed.
- Put on your favourite outfit and enjoy the confident look boob tape gives you!

Removing boob tape
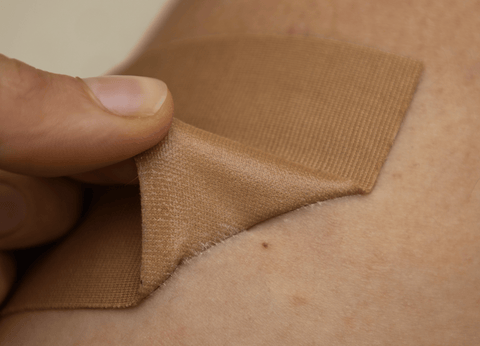
Remember that removing boob tape properly matters too. Take care to avoid skin irritation. Peel the tape off slowly and gently while supporting your skin with your other hand.
Conclusion
With these simple steps you can apply boob tape yourself and enjoy a lovely lift and support. It's a good idea to practise applying boob tape before a special occasion so you get used to the technique. Try different styles and find out what works best for your body and your outfit. Have fun and enjoy your amazing look!
Note: It's important to be careful when applying and removing boob tape. Always follow the manufacturer's instructions and make sure your skin is healthy and free of irritation before using boob tape. You'll find different ways to apply it on our packaging. Find out more about applying boob tape here!


